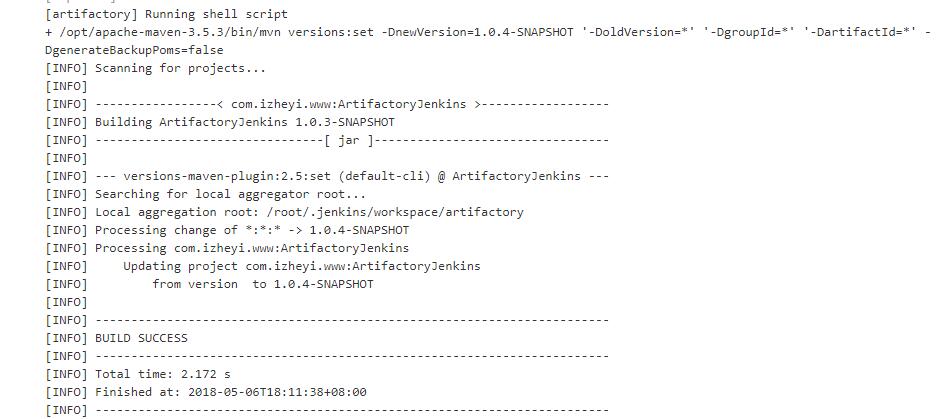
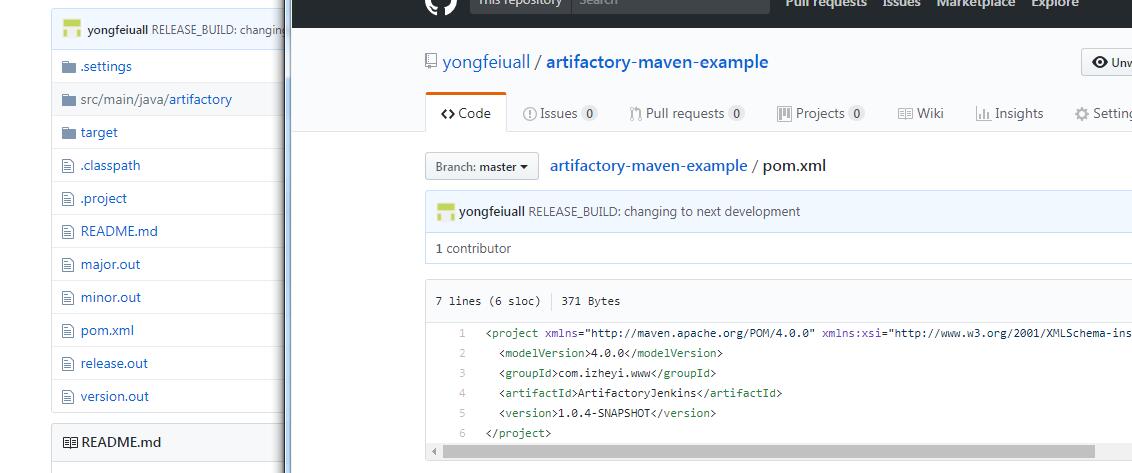
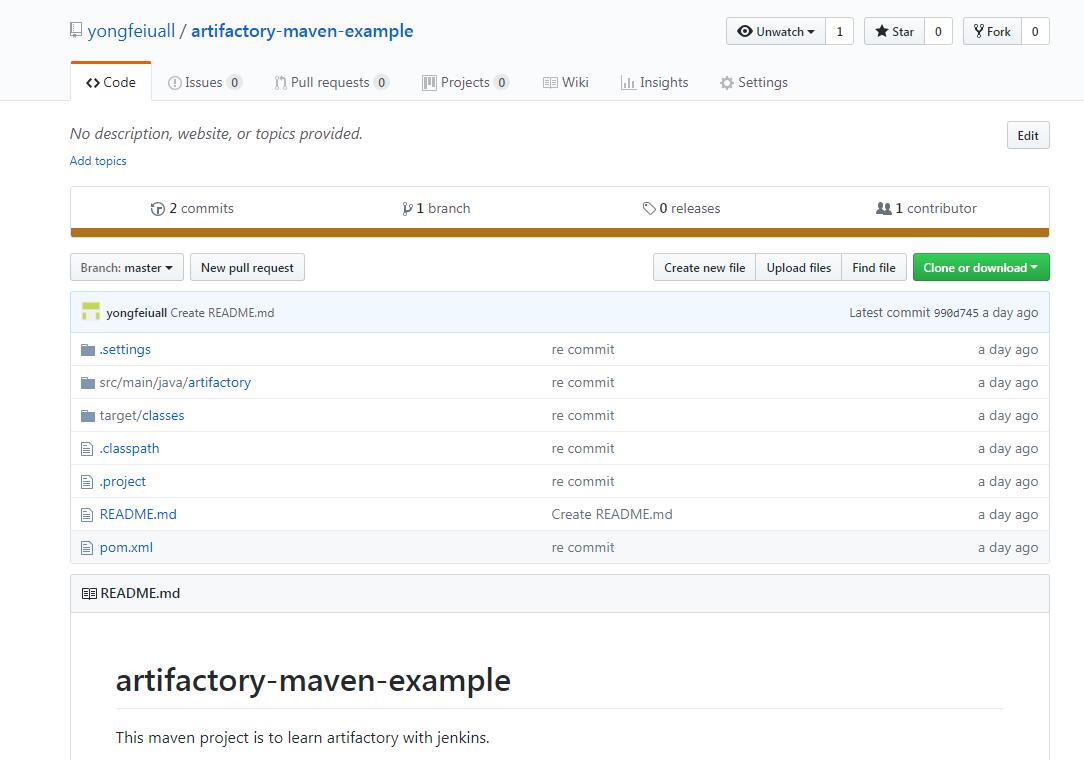
这里用一个简单spring boot例子,运行部署Job后自动触发Automaion job。
Automation
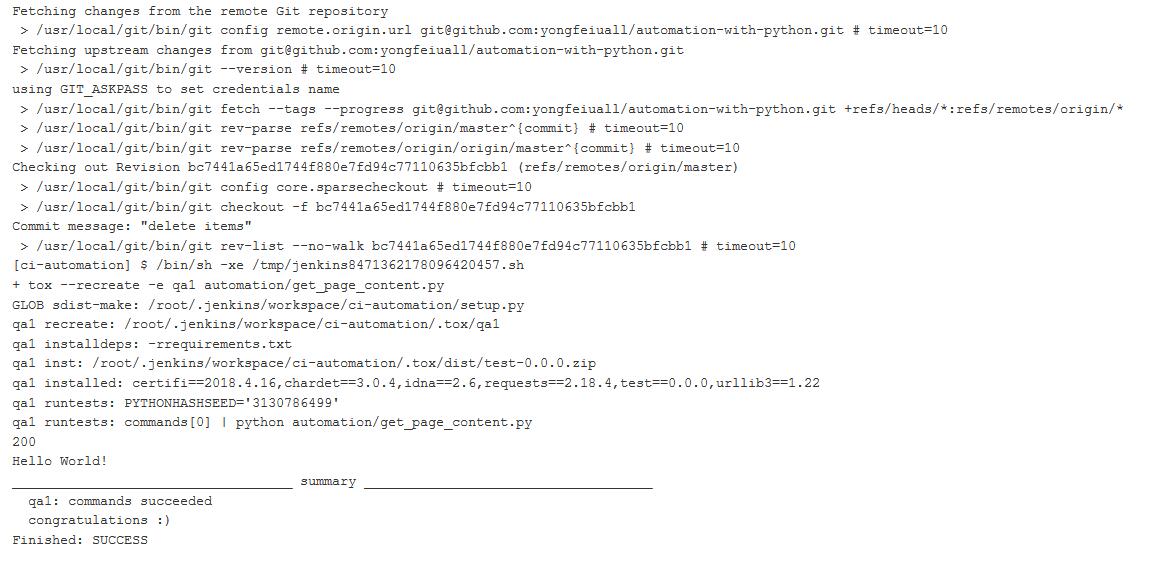
简单的用Python + Requests + Tox做个验证。
自动化脚本:
1
2
3
4
5
6
7
8
9
import requests
r = requests.get('http://localhost:8000')
print(r.status_code)
print(r.text)
assert r.status_code == 200
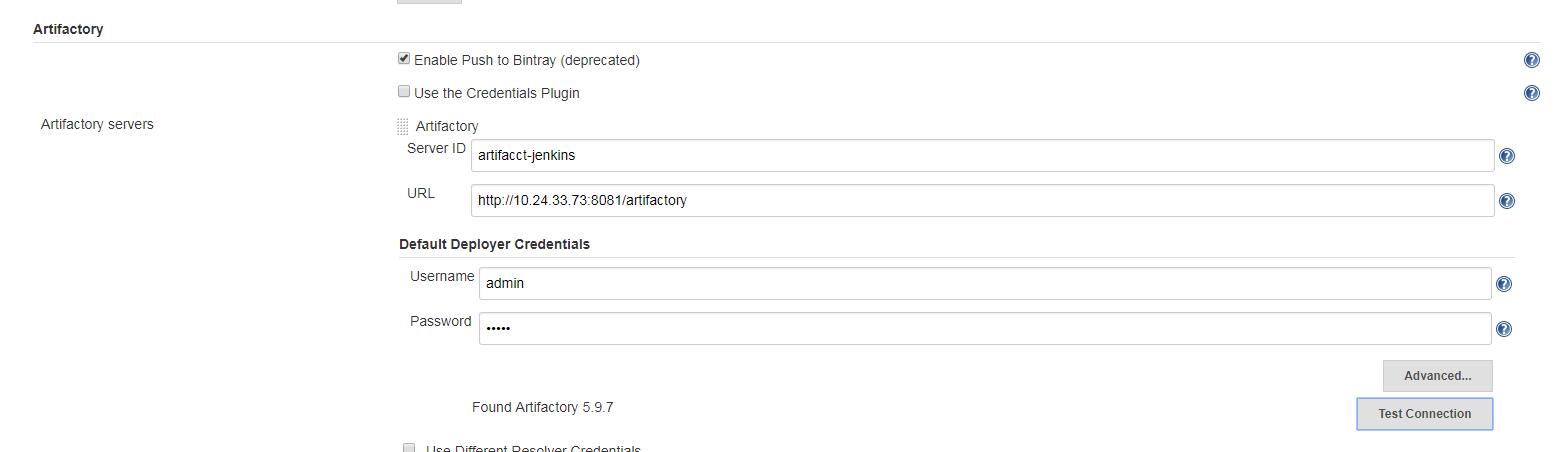
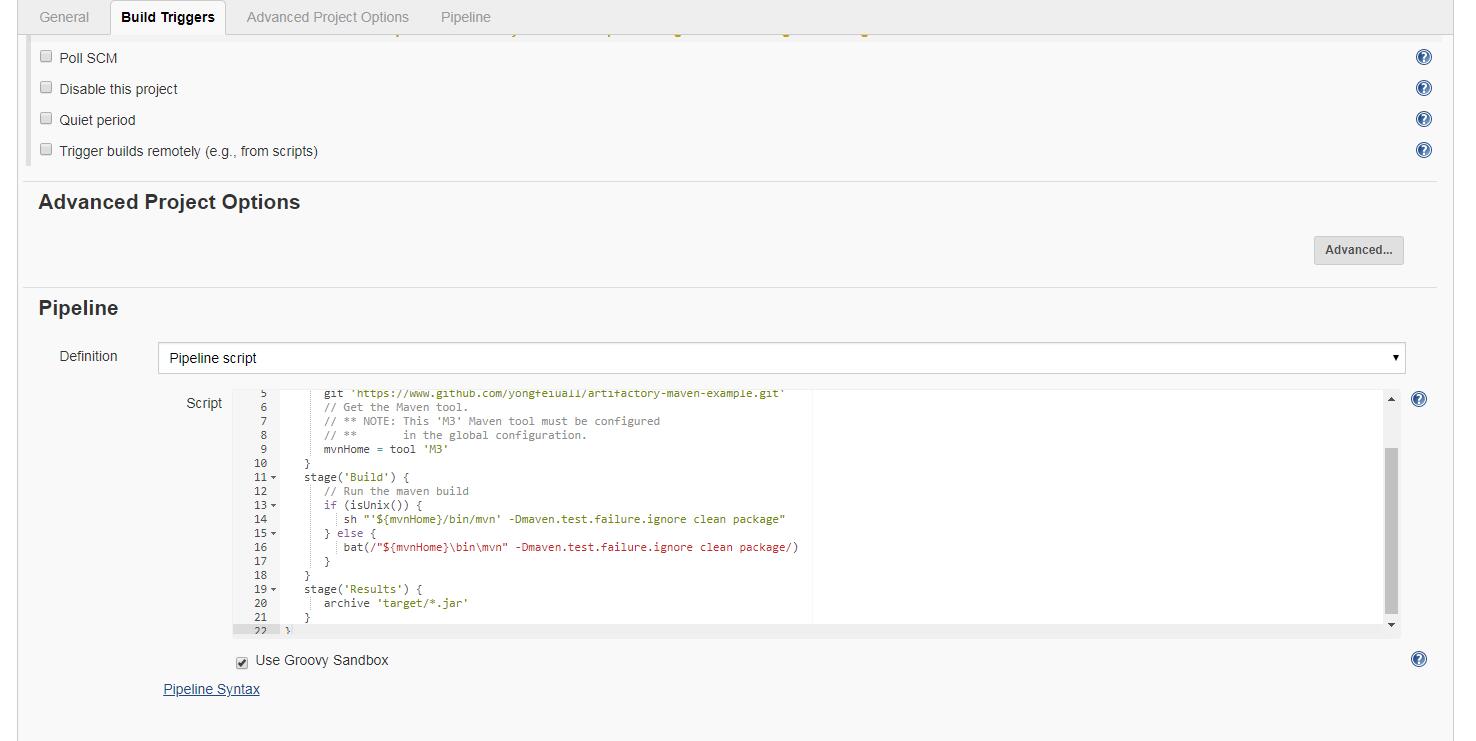
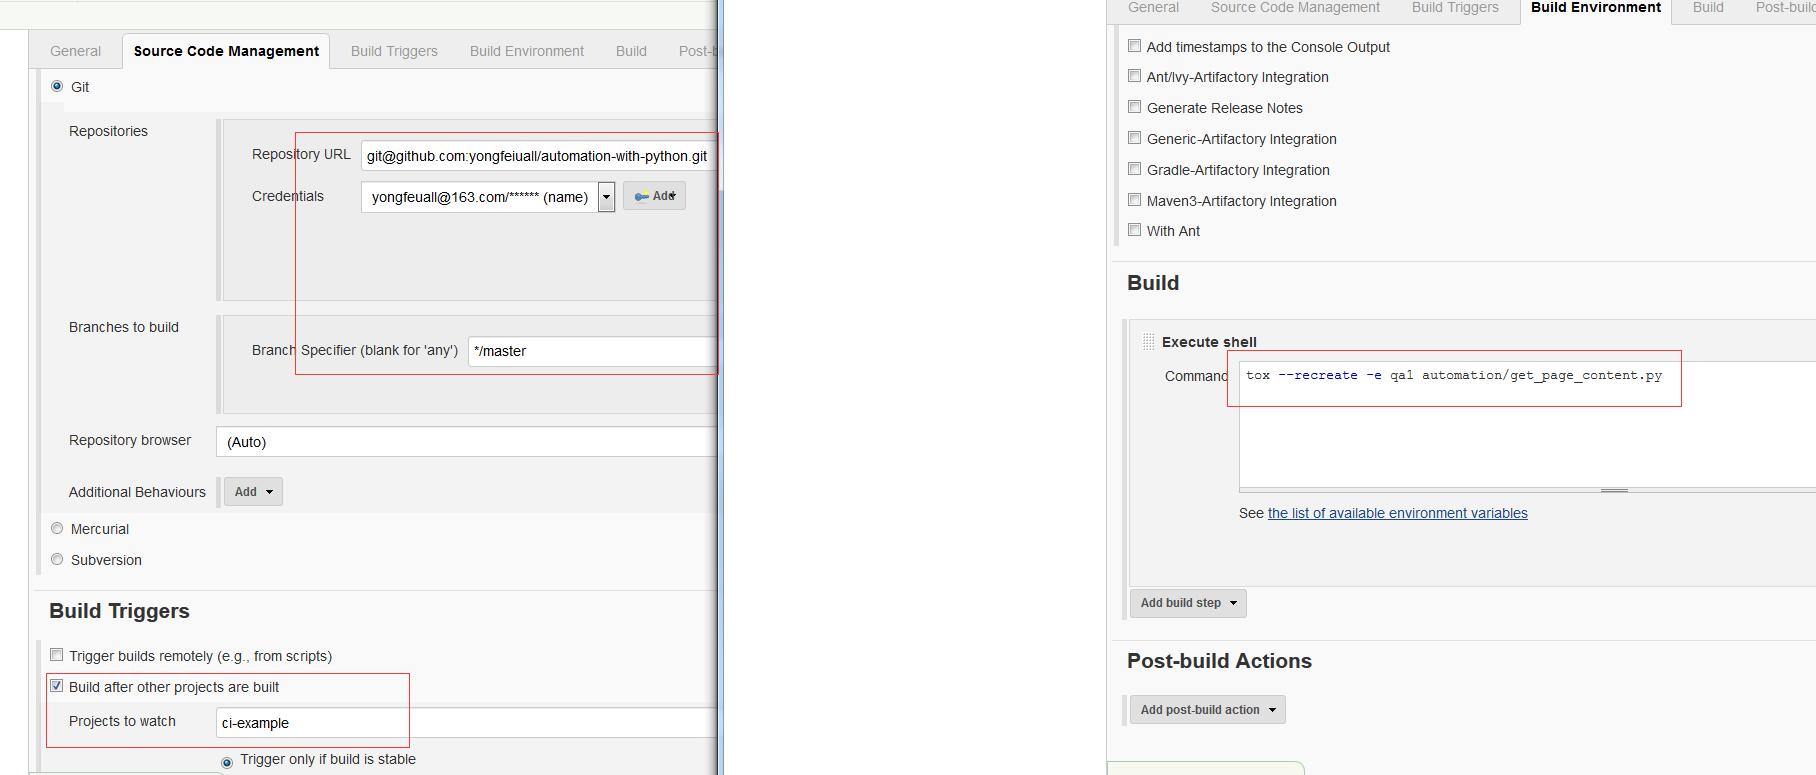
assert 'Hello World!' in r.textJob配置
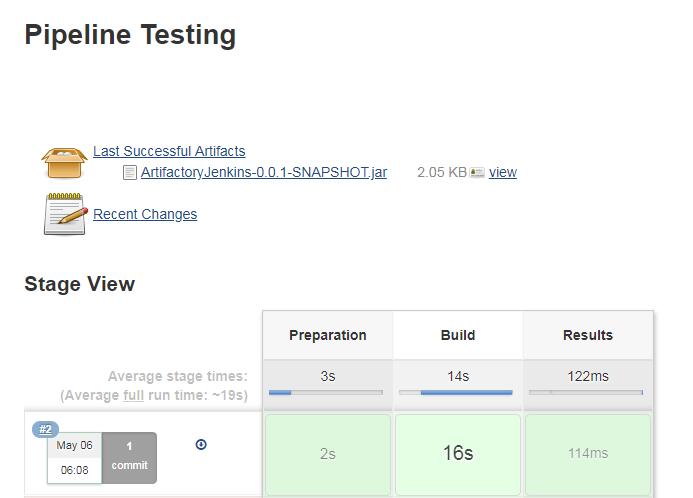
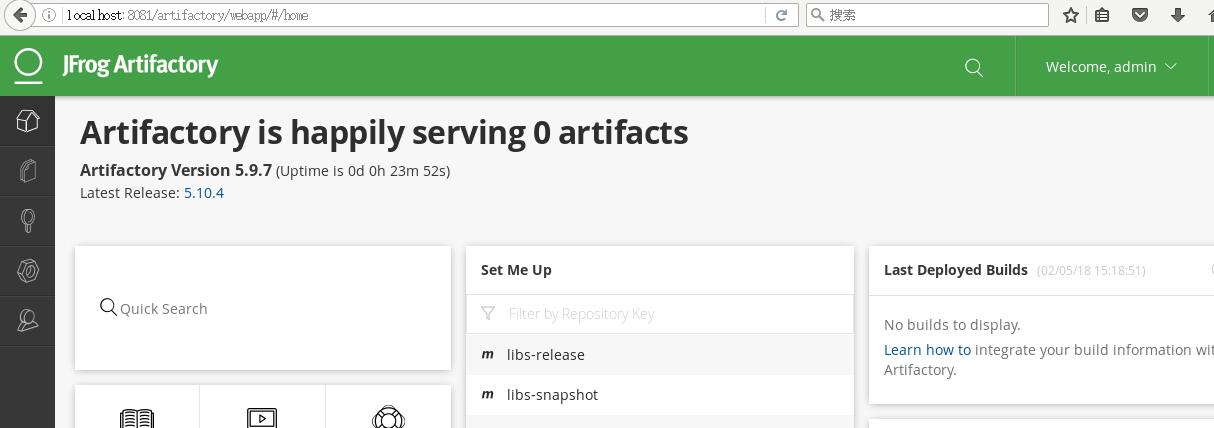
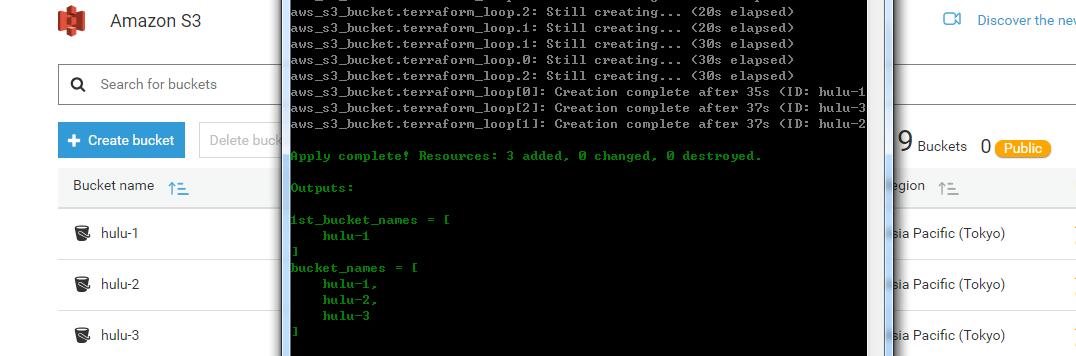
结果验证