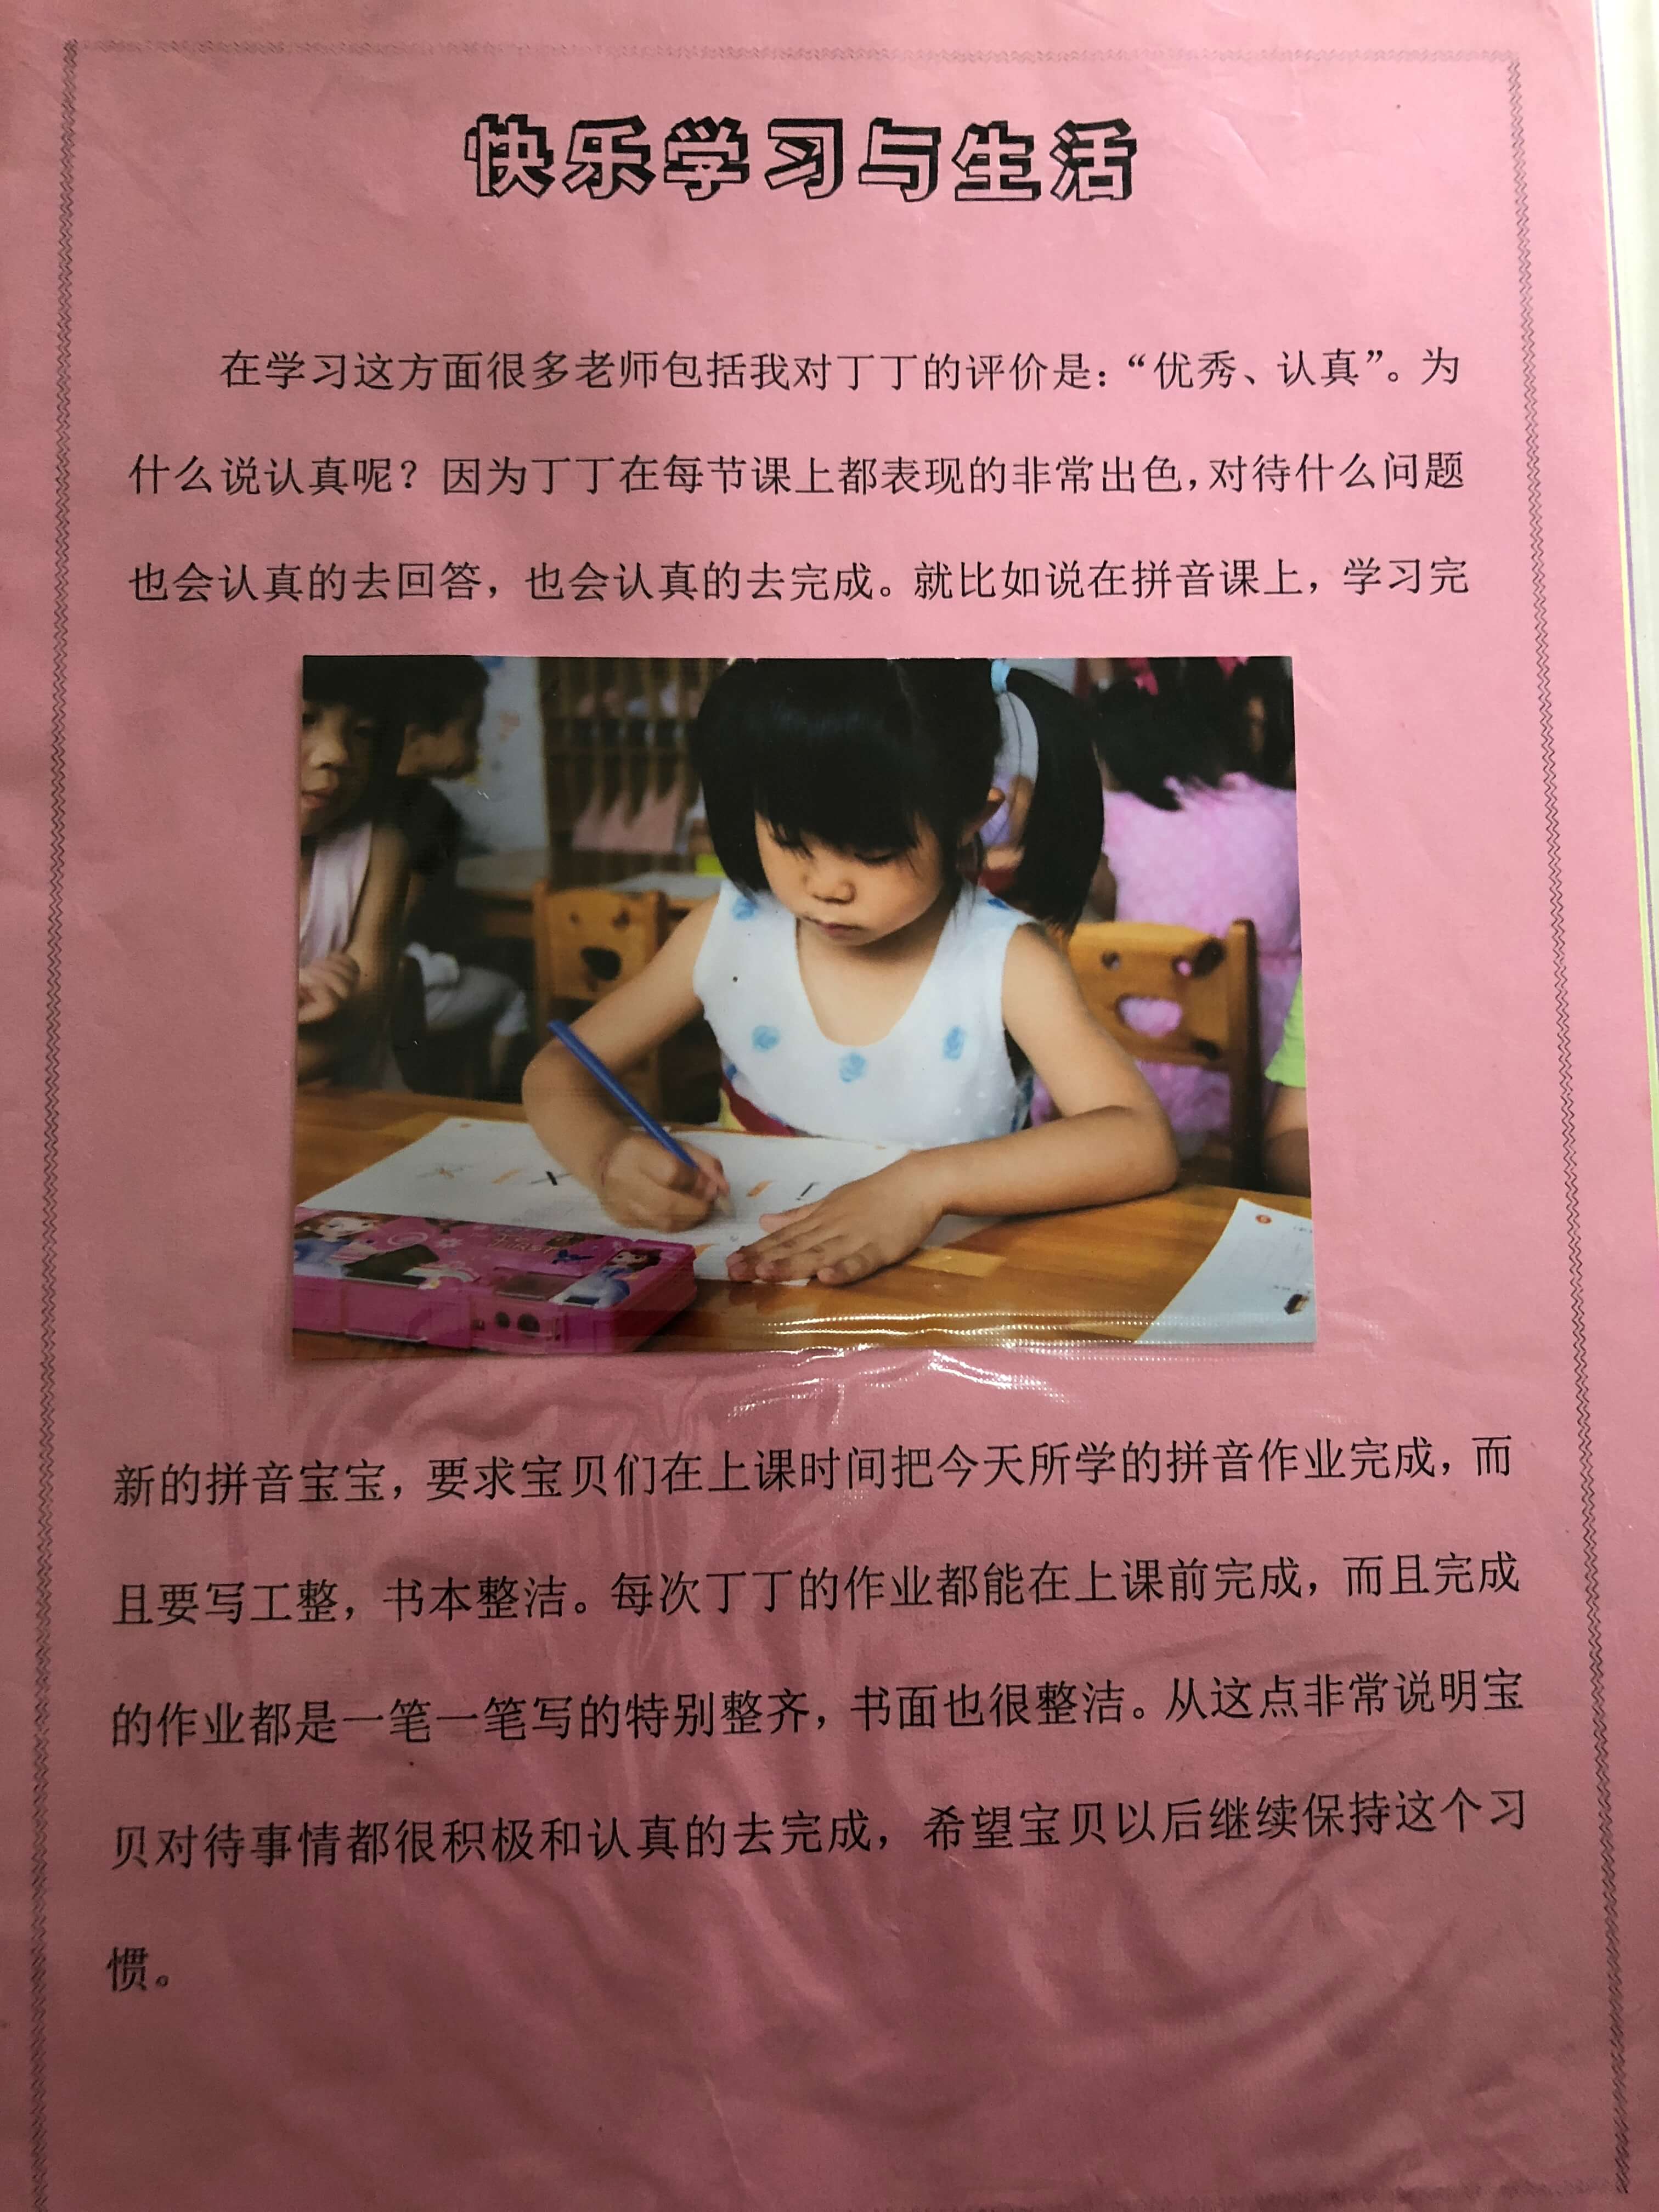
YONGFEIUALL

izheyi.com


  • Home

  • Archives

  • Categories

  • Tags

  • About

  • Search

Business Trip to Boston

Posted on 2017-09-20 | In 随想 |

一些留念。


Read more »

日日新幼儿园成长记录

Posted on 2017-07-26 | In 丁丁 |

就像老师说的一样,在这短暂的三年中,你进步了,也成长了,从不敢去学校,到转学校,再到表现的足够好(在大人的眼里)。希望你一直都能够做最好的自己。


丁丁学前班春节汇演

Posted on 2017-07-09 | In 丁丁 |

本来是年前迎新春的活动,一直没有拿到底片,再加上最近也是忙的脚不连地,补上。

一直都很有节奏感,每次都领舞,棒棒的!

开场 - 盛世欢歌

舞蹈 - 5678Going

Gatling - Simulation

Posted on 2017-06-21 | In Gatling |

A simulation is a description of the load test. It describes how, possibly several, user populations will run: which scenario they will execute and how new virtual users will be injected.

A Simulation is a real Scala class containing 4 different parts:

  • The HTTP protocol configuration
  • The headers definition
  • The scenario definition
  • The simulation definition

Can see the demo there: Recoder Demo

Hooks

Gatling provides two hooks:

  • before
    for executing some code before the simulation actually runs
  • after
    for executing some code after the simulation actually runs

Spring Boot - 更换banner

Posted on 2017-06-07 | In Spring Boot |

Spring boot 有自己的banner, 但是也可以设置使用自定制的, 只要在自己的项目中新加:/springboot/src/main/resources/banner.txt。

利用这个网站生成字符Patorjk,我们可以利用生成的字符串放入这个banner.txt文件。

重启spring boot就可以看到了

Spring Boot - 介绍和环境搭建

Posted on 2017-06-06 | In Spring Boot |

介绍

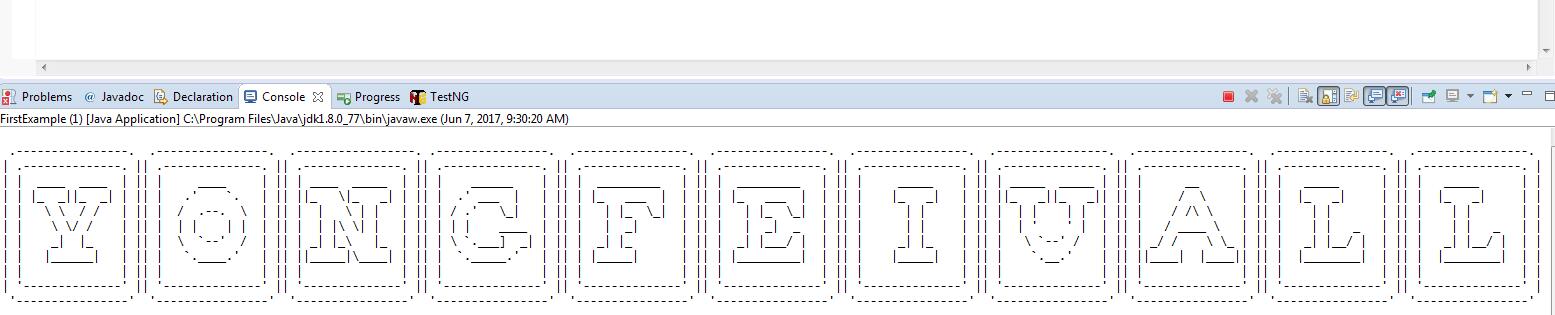
Spring Boot简化了基于Spring的应用开发,你只需要”run”就能创建一个独立的,产品级别的Spring应用。话不多说,直接参见官网Spring Boot

环境

  1. 安装JDK
    java -version - 检查Java安装
    安装后添加环境变量。

  2. 安装Maven
    我的是Windows,方法如下:
    Adding to PATH: Add the unpacked distribution’s bin directory to your user PATH environment variable by opening up the system properties (WinKey + Pause), selecting the “Advanced” tab, and the “Environment Variables” button, then adding or selecting the PATH variable in the user variables with the value C:\Program Files\apache-maven-3.5.0\bin. The same dialog can be used to set JAVA_HOME to the location of your JDK, e.g. C:\Program Files\Java\jdk1.7.0_51
    Open a new command prompt (Winkey + R then type cmd) and run mvn -v to verify the installation.

  3. 新建文件夹作为Project根目录,创建POM

    1
    2
    3
    4
    5
    6
    7
    8
    9
    10
    11
    12
    13
    14
    15
    16
    17
    18
    19
    20
    21
    22
    23
    24
    25
    26
    27
    28
    29
    30
    31
    32
    33
    34
    35
    36
    37
    38
    39
    40
    41
    42
    43
    44
    45
    46
    47
    48
    49
    50
    51
    52
    53
    54
    55
    56
    57
    58
    <?xml version="1.0" encoding="UTF-8"?>  
    <project xmlns="http://maven.apache.org/POM/4.0.0" xmlns:xsi="http://www.w3.org/2001/XMLSchema-instance"
    xsi:schemaLocation="http://maven.apache.org/POM/4.0.0 http://maven.apache.org/xsd/maven-4.0.0.xsd">

    <modelVersion>4.0.0</modelVersion>

    <groupId>com.example</groupId>
    <artifactId>myFirstproject</artifactId>
    <version>0.0.1-SNAPSHOT</version>

    <!-- Inherit defaults from Spring Boot -->
    <parent>
    <groupId>org.springframework.boot</groupId>
    <artifactId>spring-boot-starter-parent</artifactId>
    <version>1.4.0.BUILD-SNAPSHOT</version>
    </parent>

    <!-- Add typical dependencies for a web application -->
    <dependencies>
    <dependency>
    <groupId>org.springframework.boot</groupId>
    <artifactId>spring-boot-starter-web</artifactId>
    </dependency>
    </dependencies>

    <!-- Package as an executable jar -->
    <build>
    <plugins>
    <plugin>
    <groupId>org.springframework.boot</groupId>
    <artifactId>spring-boot-maven-plugin</artifactId>
    </plugin>
    </plugins>
    </build>

    <!-- Add Spring repositories -->
    <!-- (you don't need this if you are using a .RELEASE version) -->
    <repositories>
    <repository>
    <id>spring-snapshots</id>
    <url>http://repo.spring.io/snapshot</url>
    <snapshots><enabled>true</enabled></snapshots>
    </repository>
    <repository>
    <id>spring-milestones</id>
    <url>http://repo.spring.io/milestone</url>
    </repository>
    </repositories>
    <pluginRepositories>
    <pluginRepository>
    <id>spring-snapshots</id>
    <url>http://repo.spring.io/snapshot</url>
    </pluginRepository>
    <pluginRepository>
    <id>spring-milestones</id>
    <url>http://repo.spring.io/milestone</url>
    </pluginRepository>
    </pluginRepositories>
    </project>
Read more »

Gatling - install & start

Posted on 2017-05-09 | In Gatling |

基于Scala 开发的开源免费性能压测工具。主要用于测量基于HTTP的服务器,比如Web应用程序,RESTful服务等。
方方面面的原因,准备用Gatling做性能测试,对这个工具做一个简单的研究。

Install

去官网下载: http://gatling.io/download/
下载之后,解压到相应的目录中去。

  • bin 目录下有2个脚本,gatling和recorder, gatling用来运行测试, recorder用来启动录制脚本的UI的。
  • conf 目录是关于Gatling自身的一些配置。
  • lib 目录是Gatling自身依赖的库文件。
  • results 目录用来存放测试报告的。
  • target
  • user-files
    • bodies
    • data 数据目录,csv参数文件存放在这里
    • simulations 测试脚本(所有的脚本都在这里)

Recorder

运行bin目录下的’recorder.bat’,打开Recorder Window。

录制之前要先设置浏览器用Gatling Recorder’s proxy,录制之后,保存脚本。录制一个搜索:

1
2
3
4
5
6
7
8
9
10
11
12
13
14
15
16
17
18
19
20
21
22
23
24
25
26
27
28
29
30
31
32
33
34
35
36
37
38
39
40
41
42
43
package default

import scala.concurrent.duration._

import io.gatling.core.Predef._
import io.gatling.http.Predef._
import io.gatling.jdbc.Predef._

class RecordedSimulation extends Simulation {

val httpProtocol = http
.baseURL("https://www.baidu.com")
.inferHtmlResources()
.acceptHeader("image/png,image/*;q=0.8,*/*;q=0.5")
.acceptEncodingHeader("gzip, deflate")
.acceptLanguageHeader("zh-CN,zh;q=0.8,en-US;q=0.5,en;q=0.3")
.userAgentHeader("Mozilla/5.0 (Windows NT 6.1; WOW64; rv:42.0) Gecko/20100101 Firefox/42.0")

val headers_0 = Map("Accept" -> "text/html,application/xhtml+xml,application/xml;q=0.9,*/*;q=0.8")

val uri1 = "https://ss1.bdstatic.com/5eN1bjq8AAUYm2zgoY3K/r/www/cache/static/protocol/https/jquery/jquery-1.10.2.min_65682a2.js"
val uri2 = "www.baidu.com"
val uri3 = "http://baidu.com"

val scn = scenario("RecordedSimulation")
.exec(http("request_0")
.get(uri3 + "/")
.headers(headers_0)
.resources(http("request_1")
.get("/img/baidu_jgylogo3.gif"),
http("request_2")
.get("/img/bd_logo1.png")))
.pause(4)
.exec(http("request_3")
.get("/s?ie=utf-8&f=8&rsv_bp=1&rsv_idx=1&ch=&tn=baidu&bar=&wd=gatling&rn=&oq=&rsv_pq=e632af2400018ab7&rsv_t=21efo2auHiH8VwtAPnYwISgfAskcOJ5NLsAxSJh2B%2BZEb6LFvXLa%2BPVXxwc&rqlang=cn")
.headers(headers_0)
.resources(http("request_4")
.get("/aladdin/tpl/dict3/repeat_small.c6d62112.png"),
http("request_5")
.get("/aladdin/img/dic3/iconall.gif")))

setUp(scn.inject(atOnceUsers(1))).protocols(httpProtocol)
}

录制功能应该一般都不太会用到。

Read more »

Uploading a file using python requests

Posted on 2017-03-17 | In Python |

List here just for a reminder:

1
2
3
4
5
6
7
url = "http://34.207.223.236"

files = {"file": open("c:\\a.csv", 'rb')}

response = requests.post(url, files=files)

print(response.text)

requests will send a multi-part form POST body with the upload_file field set to the contents of the a.csv file.

python json dump/load/dumps/loads

Posted on 2017-02-16 | In Python |

load

从外部JSON文件变成dict字典(外部文件一定要是json格式)
json.load(open('a.json',"r"))

dump

把dict字典变成json格式,生成到外部文件里面
json.dump(dict,open('a.json',"w"))

dumps

Convert Python Object (Dict) to JSON

1
2
3
4
5
6
7
8
import json

d = {}
d["Name"] = "Luke"
d["Country"] = "Canada"

print json.dumps(d, ensure_ascii=False)
# result {"Country": "Canada", "Name": "Luke"}

loads

To convert JSON to a Python dict use this:

1
2
3
4
5
6
import json

json_data = '{"name": "Brian", "city": "BJ"}'
python_obj = json.loads(json_data)
print python_obj["name"]
print python_obj["city"]

中国国家科技馆

Posted on 2017-02-05 | In 丁丁 |

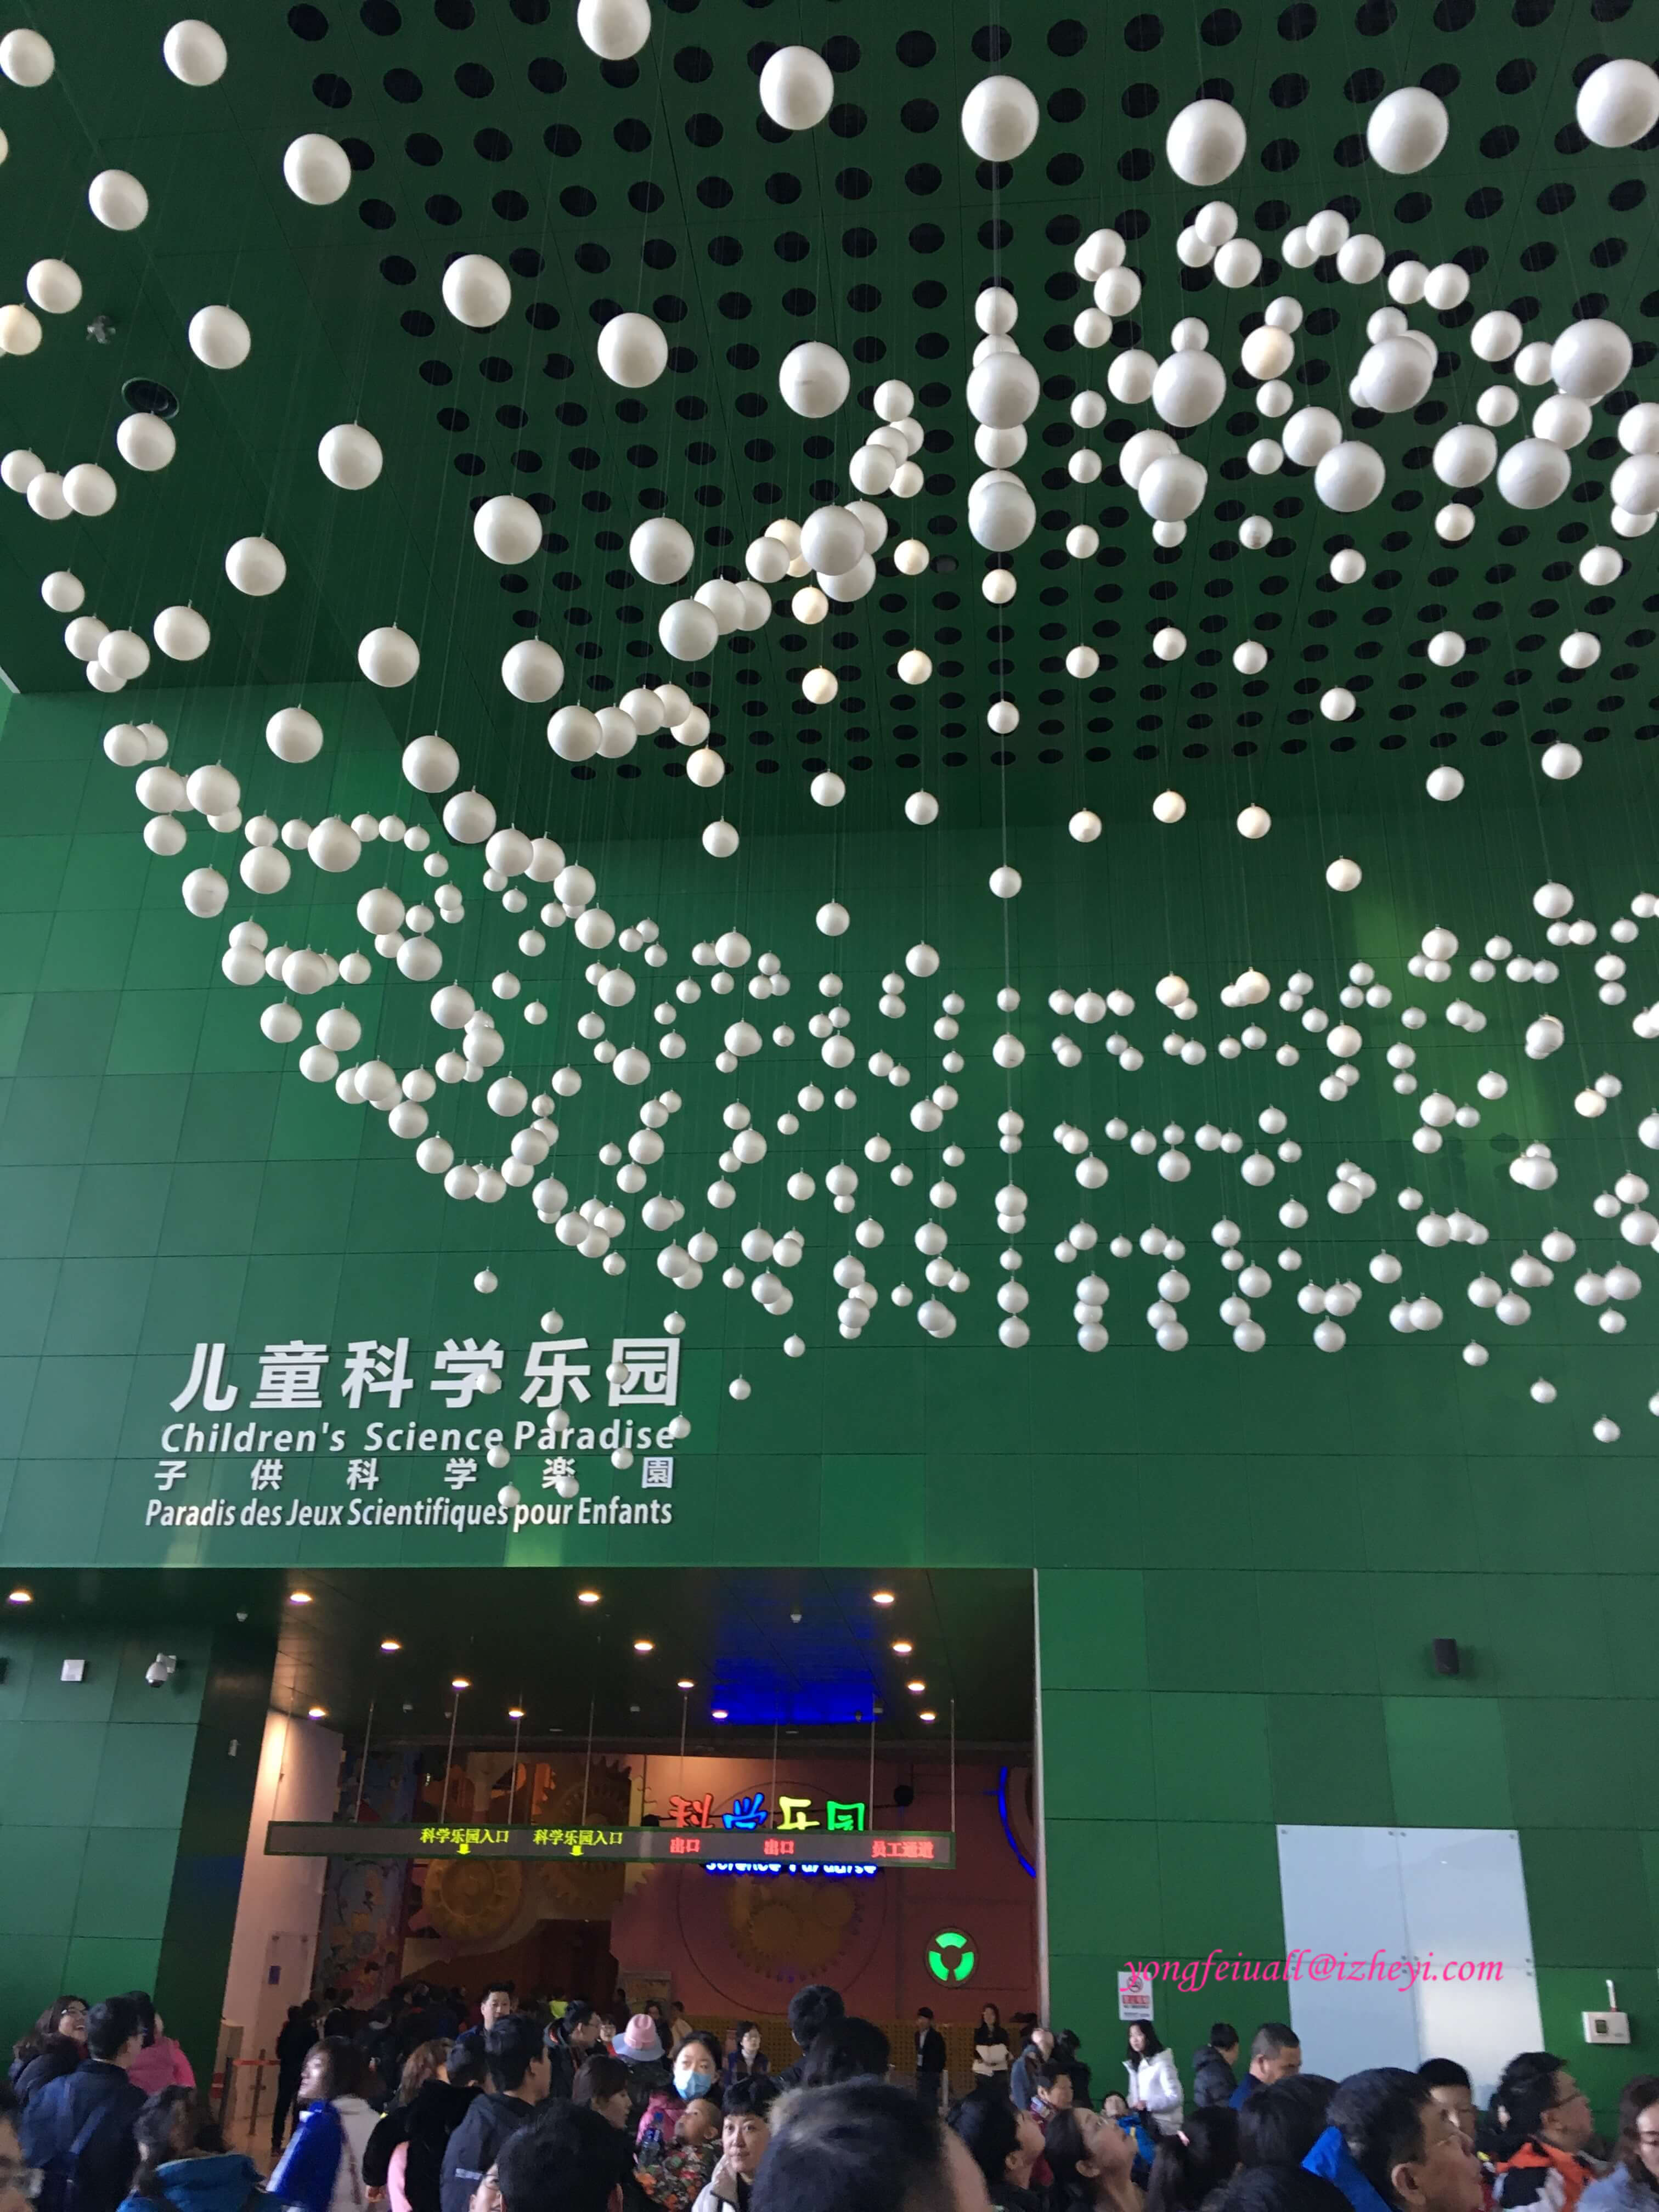
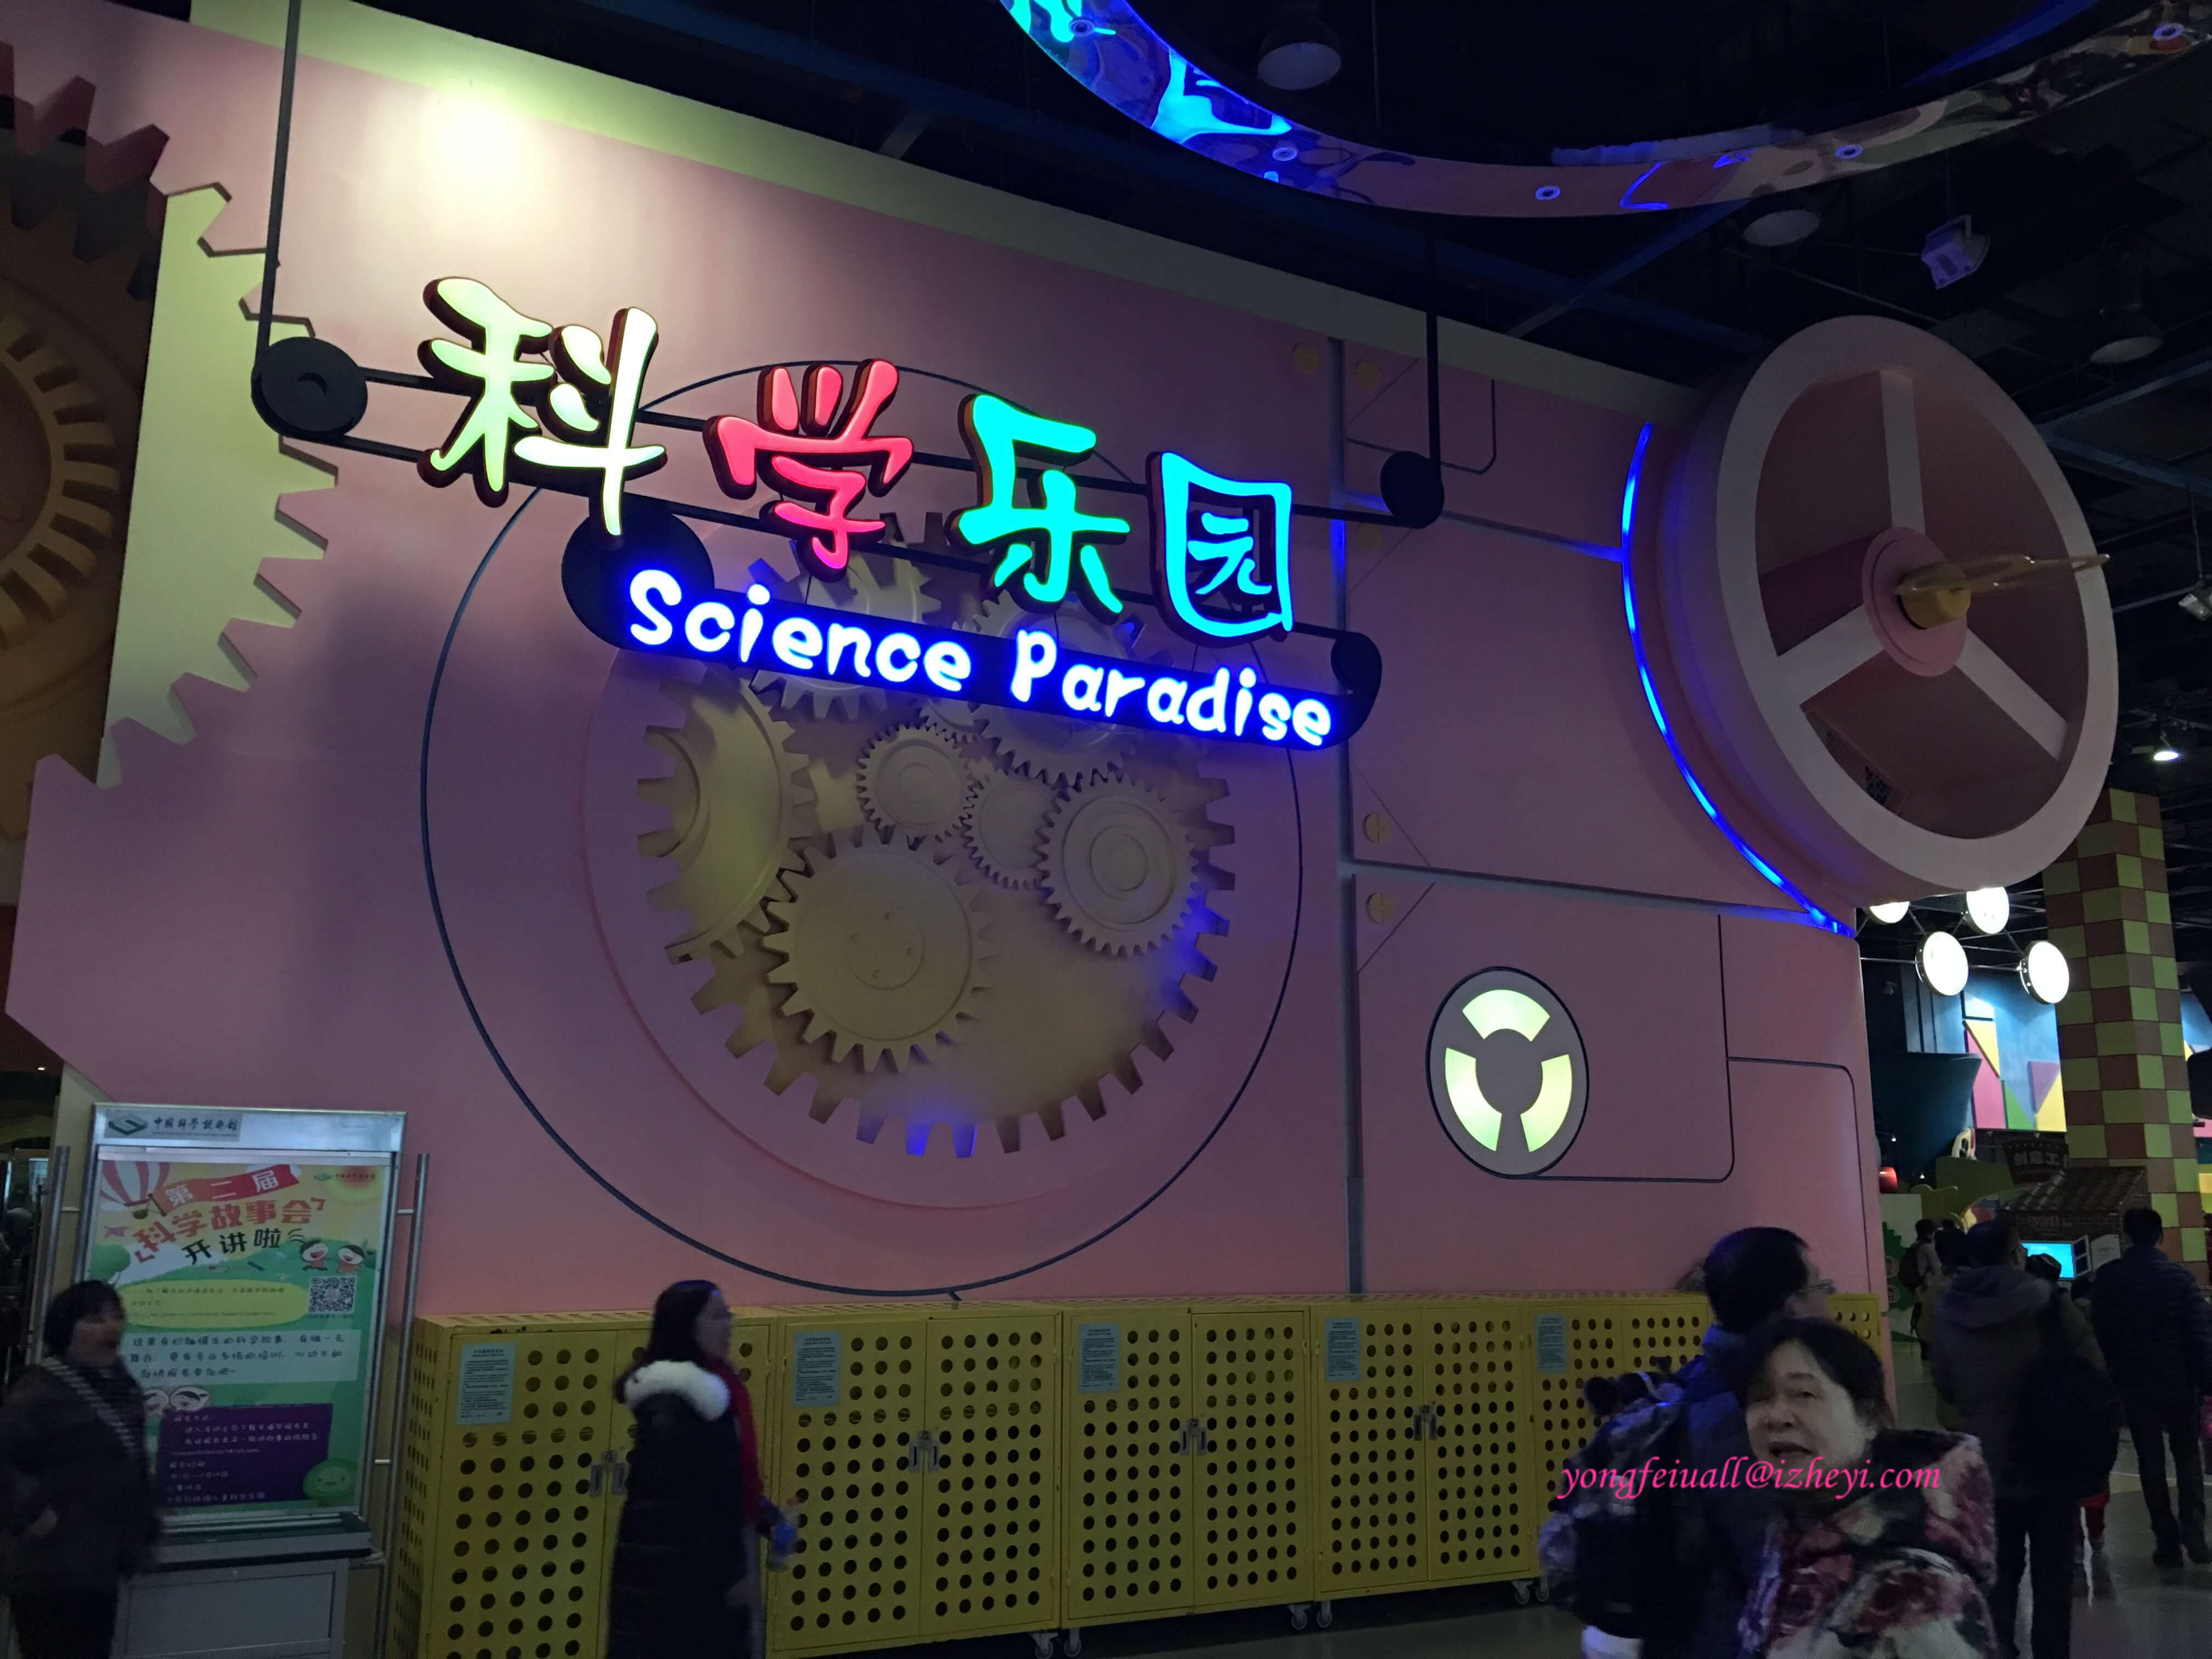
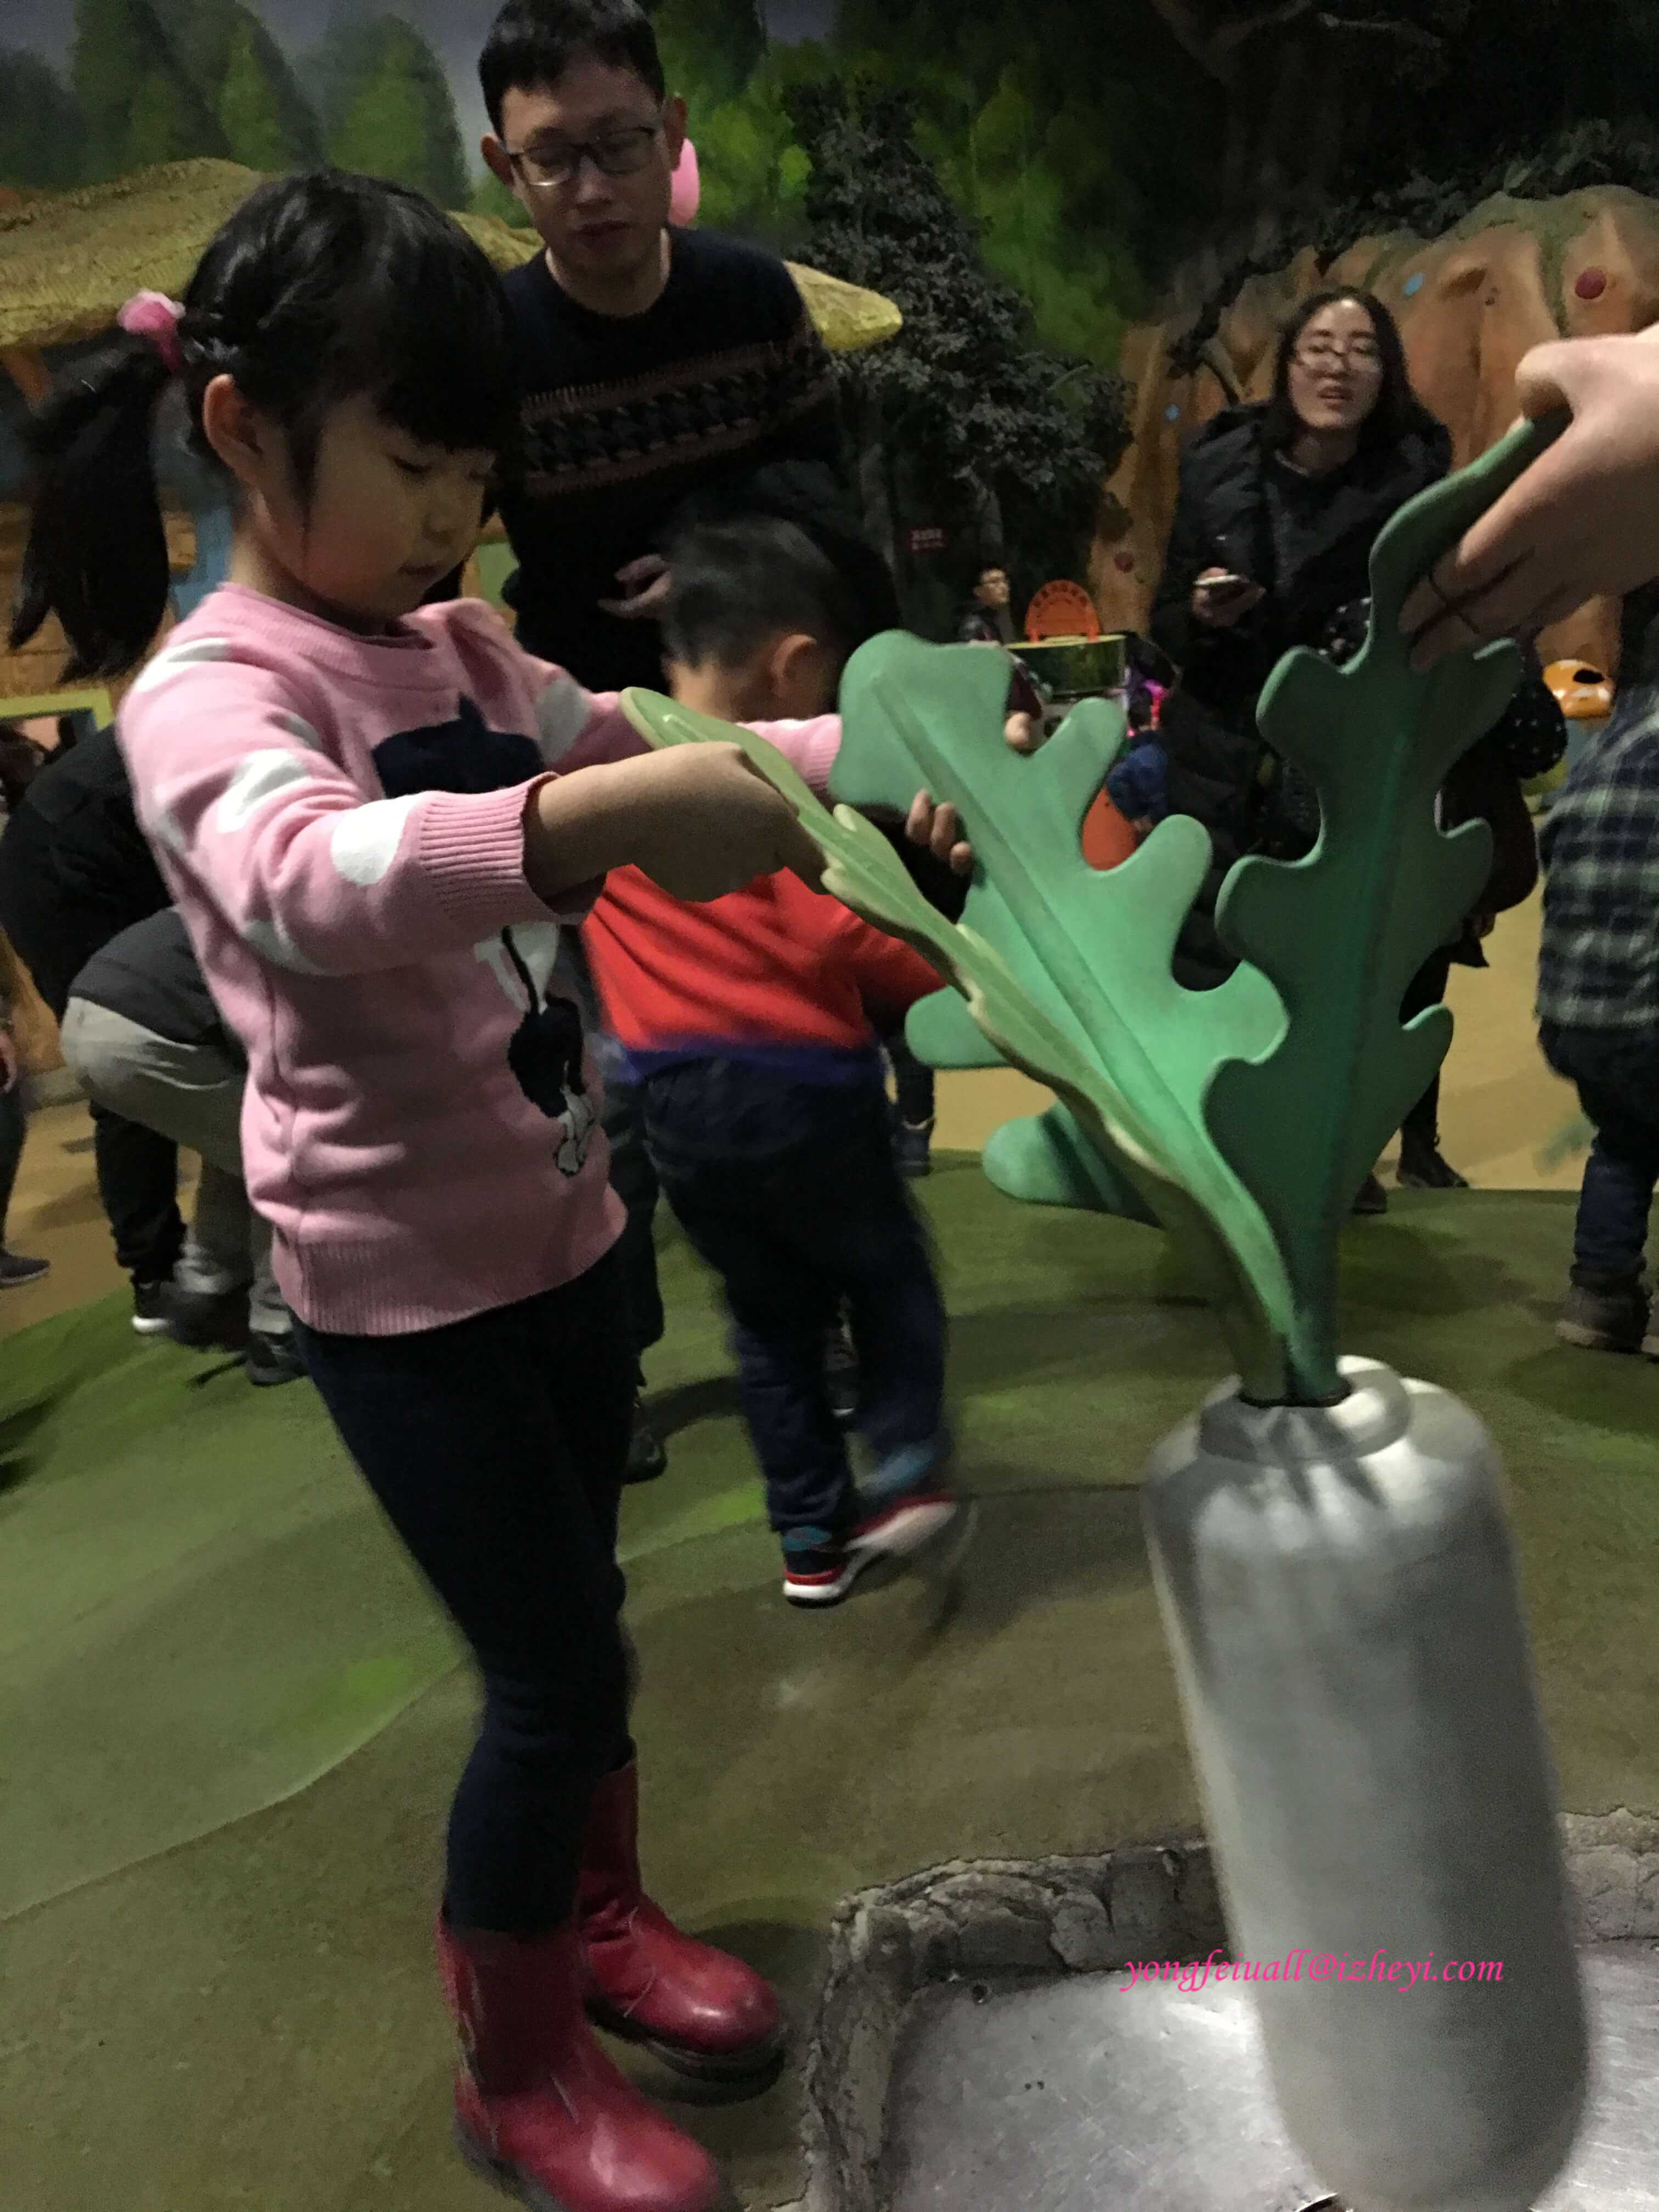
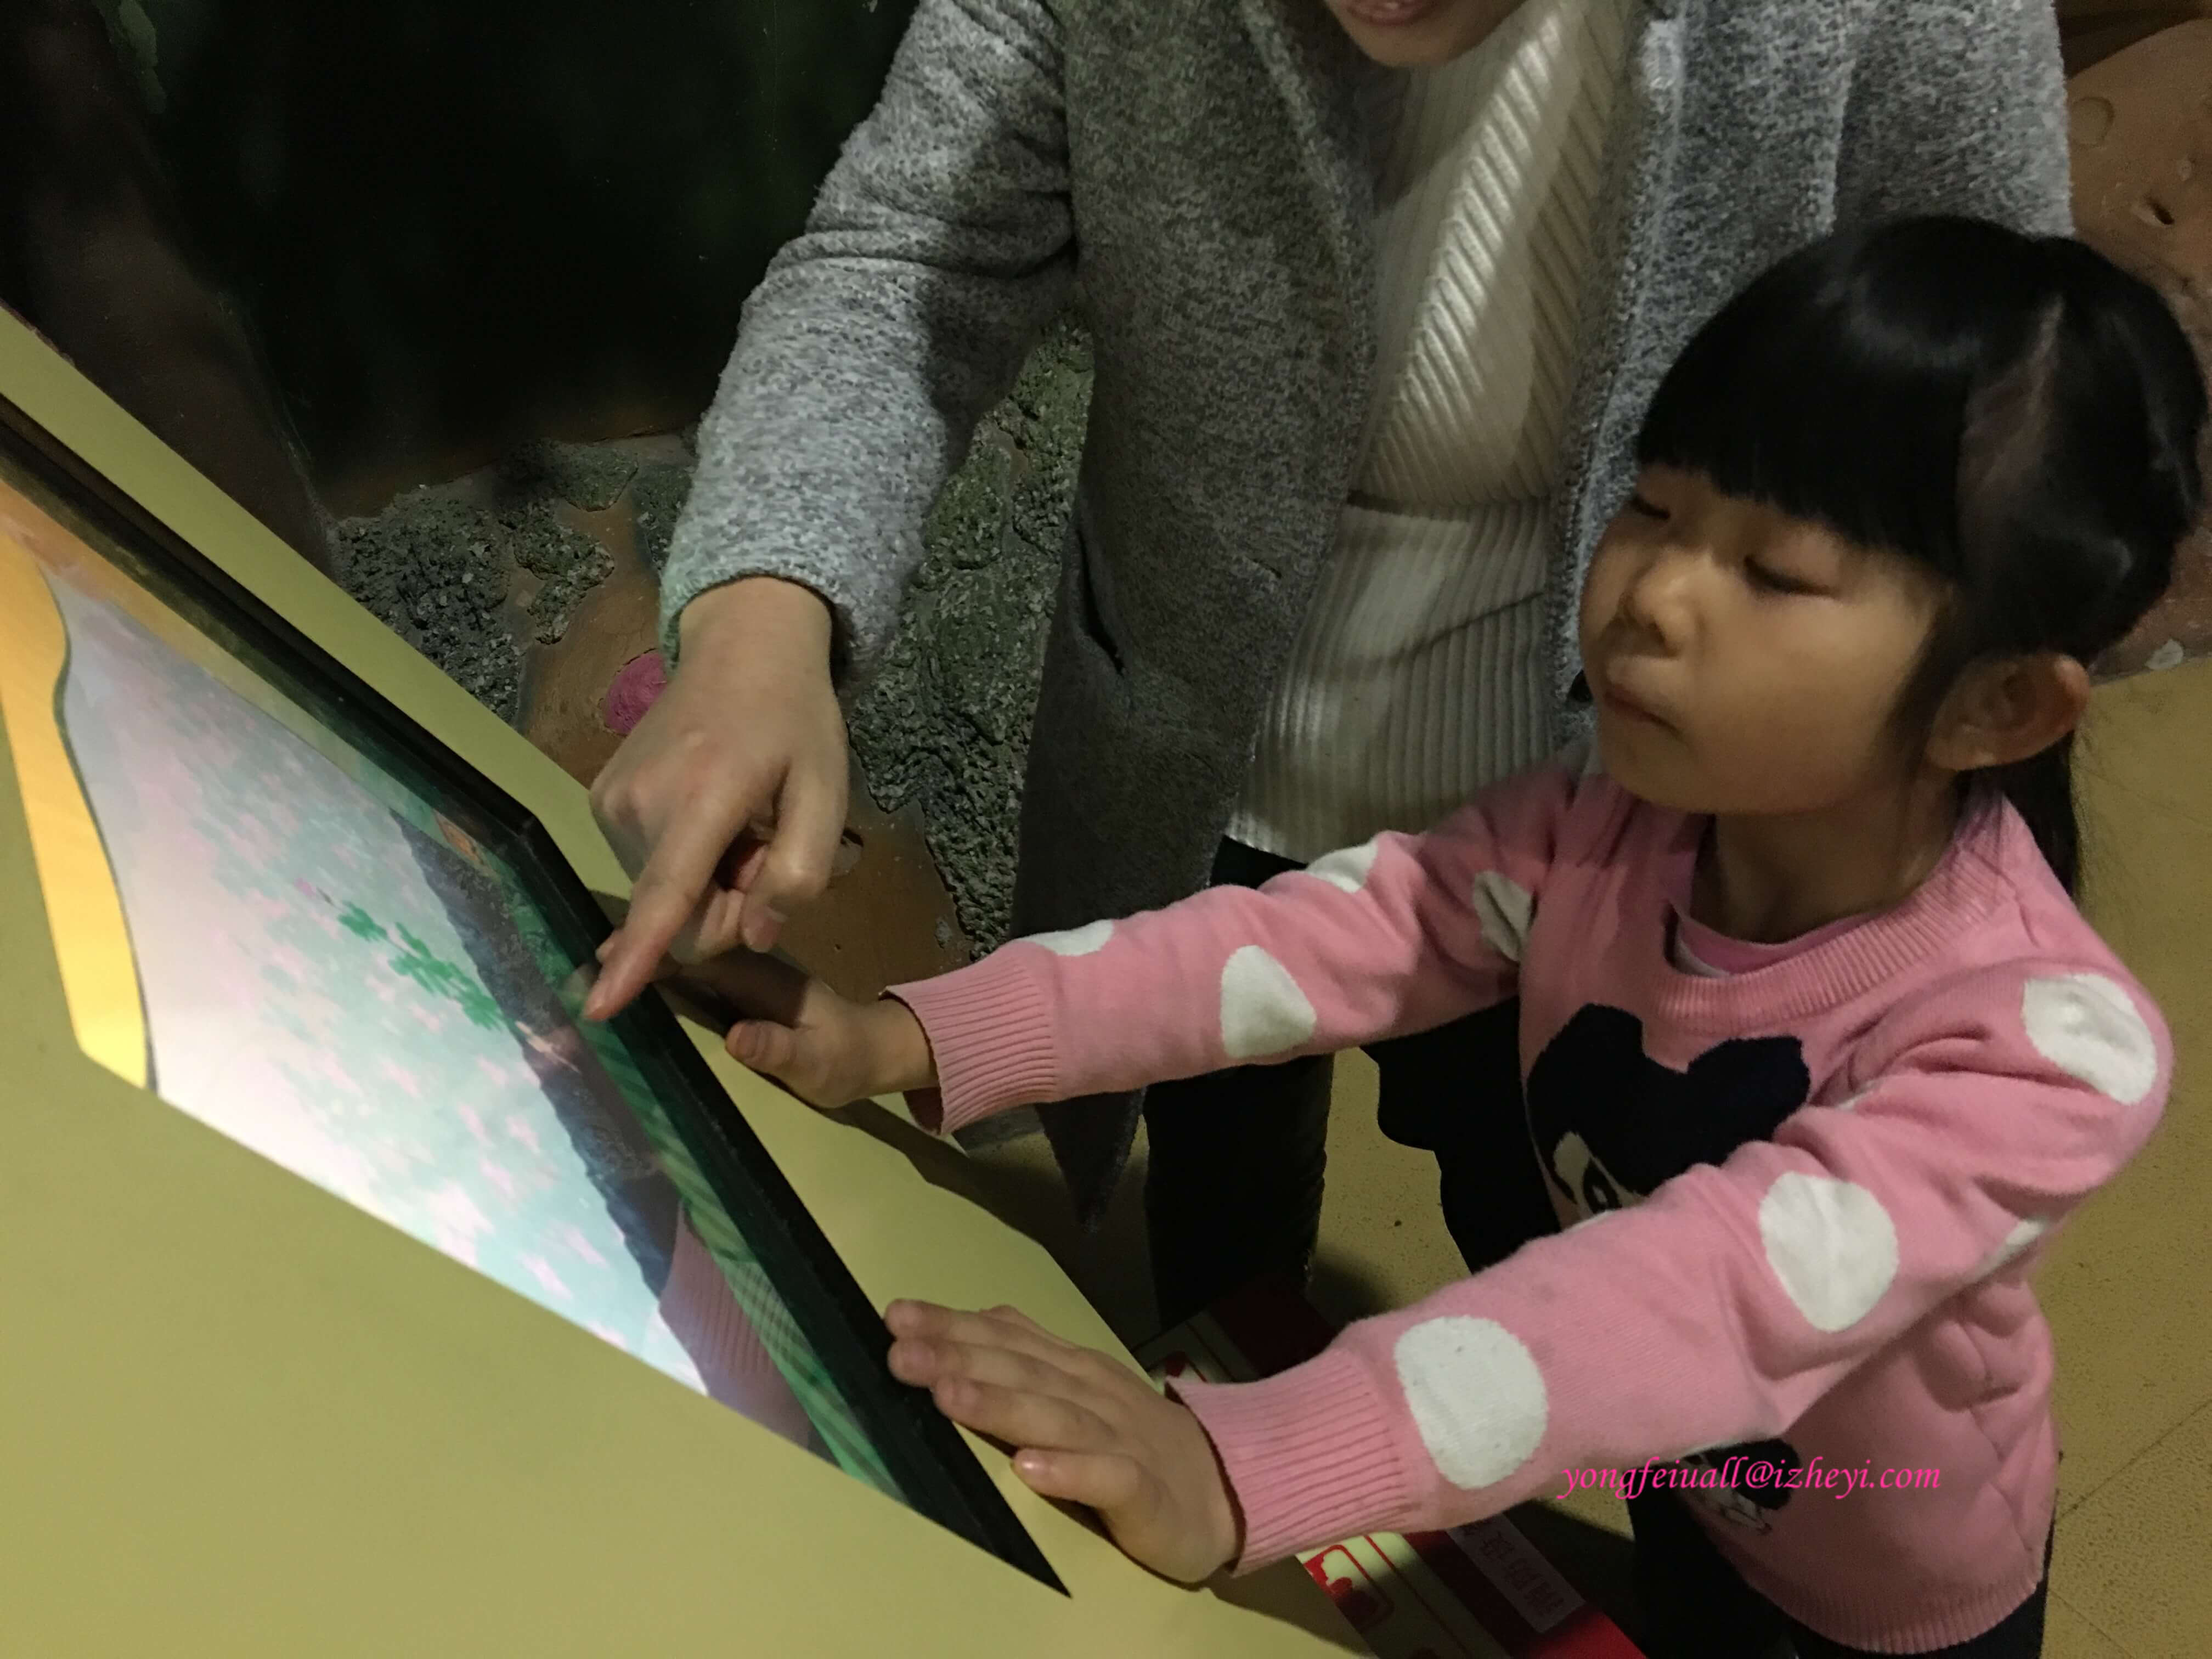
大过年去的,本以为人会少一些,绝逼是低估了中国人的数量,哈哈。

整体还是不错的,外观大气,里边也很大,花了近5个小时才看完。

儿童科技乐园,都说有各种科学知识展示,适合带小孩游玩,我觉得也就是一个游乐场而已,还有就是很多的熊孩子。


Read more »
1…202122…40
唐胡璐

唐胡璐

i just wanna live while i am alive

393 posts
42 categories
74 tags
RSS
LinkedIn Weibo GitHub E-Mail
Creative Commons
© 2022 唐胡璐
Powered by Hexo
|
Theme — NexT.Pisces v5.1.4