Jsonp
ajax请求受同源策略影响,不允许进行跨域请求,而script标签src属性中的链接却可以访问跨域的js脚本,利用这个特性,服务端不再返回JSON格式的数据,而是返回一段调用某个函数的js代码,在src中进行了调用,这样实现了跨域。
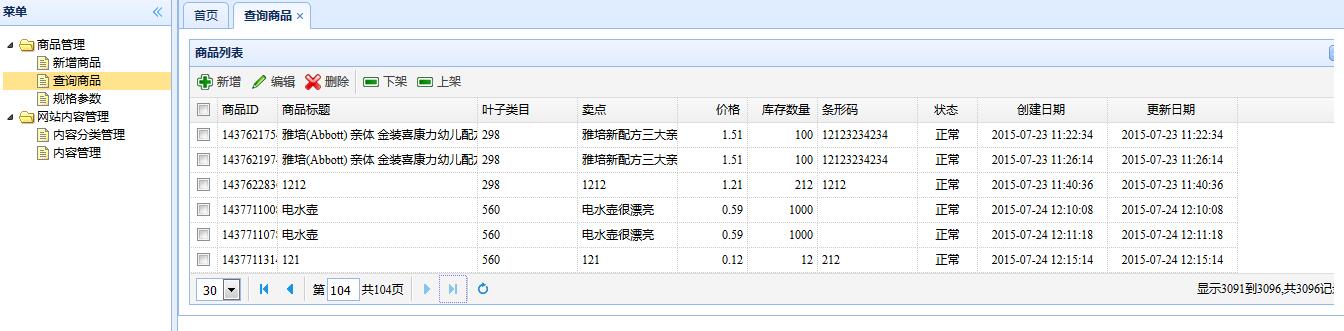
商品分类显示
通过这个例子来验证跨域请求。
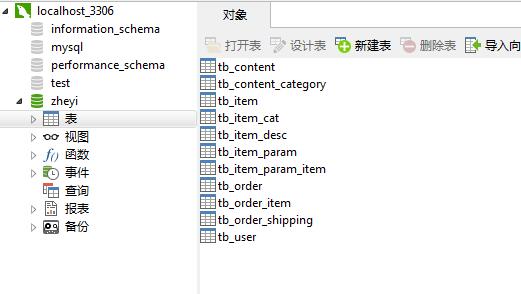
Dao
逆向工程已经实现了Mapper,不需要再做修改。
Service
查询所有商品分类生成前台页面要求的json数据格式。返回一个pojo。
pojo:1
2
3
4
5
6
7
8
9
10
11
12
13
14
15
16
17
18
19
20
21
22
23
24
25public class CategoryNode {
public String name;
public String url;
public List<?> item;
public String getName() {
return name;
}
public void setName(String name) {
this.name = name;
}
public String getUrl() {
return url;
}
public void setUrl(String url) {
this.url = url;
}
public List<?> getItem() {
return item;
}
public void setItem(List<?> item) {
this.item = item;
}
}
and1
2
3
4
5
6
7
8
9
10
11
12public class CategoryResult {
public List<?> data;
public List<?> getData() {
return data;
}
public void setData(List<?> data) {
this.data = data;
}
}
接口类:1
2
3
4
5public interface ItemCategoryService {
CategoryResult getItemCategoryList();
}
实现类:1
2
3
4
5
6
7
8
9
10
11
12
13
14
15
16
17
18
19
20
21
22
23
24
25
26
27
28
29
30
31
32
33
34
35
36
37
38
39
40
41
42
43
44
45@Service
public class ItemCategoryServiceImpl implements ItemCategoryService {
@Autowired
private TbItemCatMapper itemCatMapper;
public CategoryResult getItemCategoryList(){
CategoryResult result = new CategoryResult();
result.setData(getCatetoryList(0));
return result;
}
private List<?> getCatetoryList(long parentId){
TbItemCatExample example = new TbItemCatExample();
Criteria criteria = example.createCriteria();
criteria.andParentIdEqualTo(parentId);
List<TbItemCat> list= itemCatMapper.selectByExample(example);
List resultList = new ArrayList<>();
//向list中添加节点
for (TbItemCat tbItemCat : list) {
//判断是否为父节点
if (tbItemCat.getIsParent()) {
CategoryNode catNode = new CategoryNode();
if (parentId == 0) {
catNode.setName("<a href='/products/"+tbItemCat.getId()+".html'>"+tbItemCat.getName()+"</a>");
} else {
catNode.setName(tbItemCat.getName());
}
catNode.setUrl("/products/"+tbItemCat.getId()+".html");
catNode.setItem(getCatetoryList(tbItemCat.getId()));
resultList.add(catNode);
//如果是叶子节点
} else {
resultList.add("/products/"+tbItemCat.getId()+".html|" + tbItemCat.getName());
}
}
return resultList;
}
}
Controller
接收页面传递过来的参数id。1
2
3
4
5
6
7
8
9
10
11
12
13
14
15
16
17
18
19@Controller
public class ItemCategoryController {
@Autowired
private ItemCategoryService itemCategoryService;
@RequestMapping(value="/itemcat/list",
produces=MediaType.APPLICATION_JSON_VALUE + ";charset=utf-8")
@ResponseBody
public String getItemCatList(String callback) {
CategoryResult catResult = itemCategoryService.getItemCategoryList();
//把pojo转换成字符串
String json = JsonUtils.objectToJson(catResult);
//拼装返回值
String result = callback + "(" + json + ");";
return result;
}
}
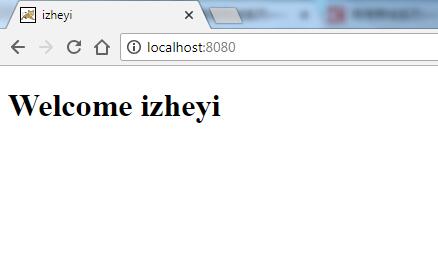
运行结果