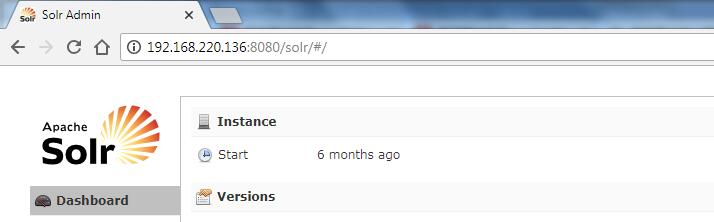
Solr是一个全文检索服务器,只需要进行配置就可以实现全文检索服务。
安装
- 前提,有JDK和Tomcat。
- 下载solr的安装包,解压,并把dist下的war包部署到Tomcat下。
- 解压war包。启动tomcat自动解压。
- 把solr/example/lib/ext目录下所有的jar包复制Tomcat下/webapps/solr/WEB-INF/lib/。
- 创建solrhome,把example/sor复制到/opt/solrhome。
- 配置solrhome,在/apache-tomcat-8.0.28/webapps/solr/WEB-INF/web.xml。
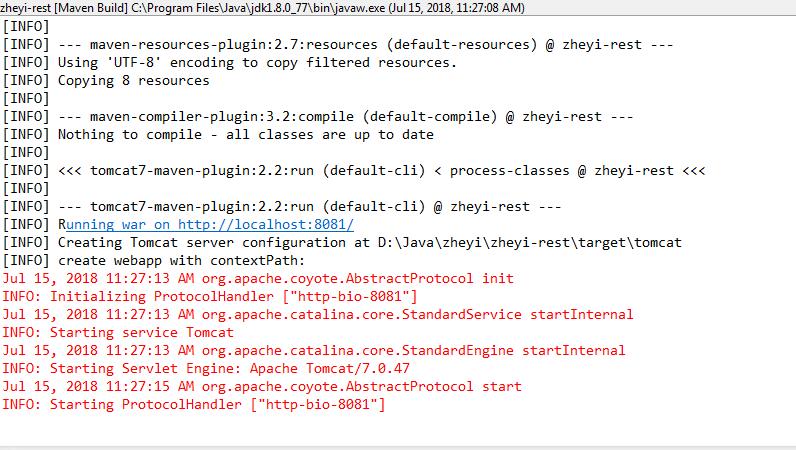
- 启动Tomcat。
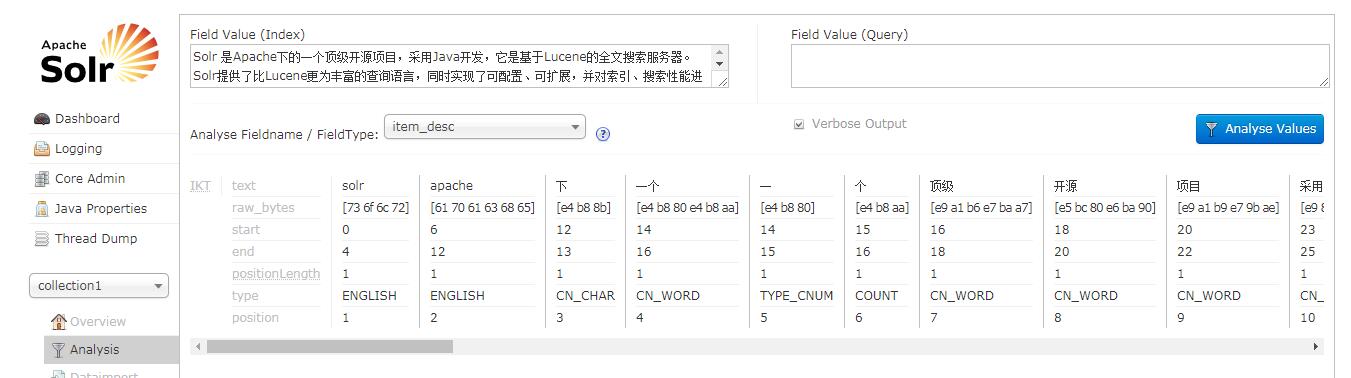
中文分析器IK-Analyzer
Solr中默认是没有中文分析器的,需要手工配置,配置一个FieldType,在FieldType中指定使用的中文分析器。
- 下载包。
- 把中文分析器的jar复制到Tomcat下/webapps/solr/WEB-INF/lib/。
- 把IK Analyzer需要的扩展词典及停用词词典、配置文件复制到Tomcat下/webapps/solr/WEB-INF/classes。
- 在solrhome/collection1/conf/schema.xml中配置FileType。
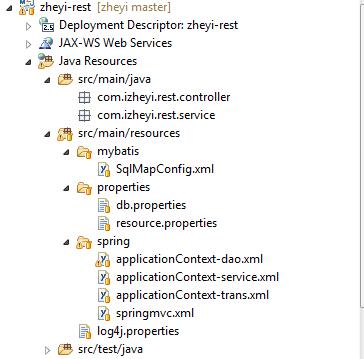
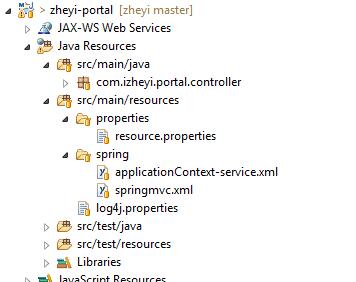
配置业务域
就是配置要搜索的字段,和后续用到的字段。
业务系统Fileds:1
2
3
4
5
6
7
8
9
10
11
12<field name="item_title" type="text_ik" indexed="true" stored="true"/>
<field name="item_sell_point" type="text_ik" indexed="true" stored="true"/>
<field name="item_price" type="long" indexed="true" stored="true"/>
<field name="item_image" type="string" indexed="false" stored="true" />
<field name="item_category_name" type="string" indexed="true" stored="true" />
<field name="item_desc" type="text_ik" indexed="true" stored="false" />
<field name="item_keywords" type="text_ik" indexed="true" stored="false" multiValued="true"/>
<copyField source="item_title" dest="item_keywords"/>
<copyField source="item_sell_point" dest="item_keywords"/>
<copyField source="item_category_name" dest="item_keywords"/>
<copyField source="item_desc" dest="item_keywords"/>